Lost Ark Guide: Road of Lament Abyssal Dungeon Raid
Wailing Swamp is the first half of the Ark of Arrogance Abyssal dungeon in Lost Ark, where several complex systems need to be explained, and then we will share a road of lament abyssal dungeon raid guide for players.

Quick links
- Brief & Pleasant Upgrade Guide
- Section One: Defeat the Demons on the Path of Lamentation
- Second section: Enchanted Najjar
- Section Three: Defeating the Demon's Forge
- Fourth and amplifier; Last section: Kyzra
The Ark of Arrogance is the first group of Tier 2 Abyssal dungeons that
players will encounter in Lost Ark. However, it may not seem like it is, as
this Abyssalal is arguably more accessible than the Tier 1 Phantom Palace.
Anyway, this is the Abyssal Dungeon. This is a modified version of Yorn's Main
Story Quest Dungeons, as most of the Abyssal Dungeons in this game is just
Main Story Quest Dungeons increased to 11.
In this first dungeon, Wailing Road, the Lost Ark, players at item level 840
and above will also encounter the Demon Najar. Like Kyzra and her
deceptively annoying Wipe mechanic (which becomes more common as raids
continue). So without further ado, let's get down to business.
Brief & Pleasant Upgrade Guide
Most players who reach level 2 in The Lost Ark are likely skimming through
this guide to quickly brush up on the most important mechanics. Thankfully,
this first section serves just that objective and will also enable players
who know they do not possess the patience to study a lengthy manual or watch
a 10-minute video.
Wailing Road has four standard sections: a clear mob section, Najjar, an
additional mob clear section, and Kyzra. The first boss, Najjar, is
straightforward with his spinning lasers. If it starts and the protected
zone is within the middle, it is the Inner Variation pattern. If it begins
and the only danger zone can be a tiny circle around Najar, it is the Outer
Variation pattern. If it's the Outside option, remember to hang around the
corner of the arena until the Magnetic Field around each player locks in. to
the ground, and then start running around the beams. Don't worry about DPS
at this stage and focus on survival.
Before going into battle with Kyzra, determine the cardinal points in
advance. The most common strategy is simply using the default party order
for directions, also referred to as 1234 = north, south, east, and west.
When Kyzra jumps to the middle of the arena, it is time for you to move in
the offered direction. Take three golden orbs, avoid all the red orbs, and
then use the golden Aura given to destroy the giant red balls summoned by
Kyzra.
Suppose two or more spheres make it to Kyzra. Also, for each Red Orb picked
up, that player must take one additional Golden Orb, so keep that in mind.
The most valuable consumables are Protective Potions for Najar Lasers, Time
Stop Potions (also for lasers), or maybe even Swift's Robes.

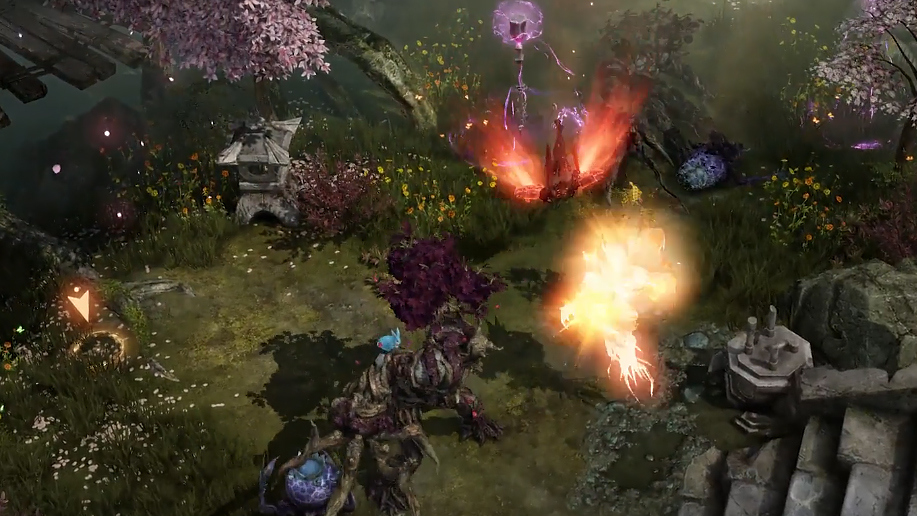
Section One: Defeat the demons on the path of lamentation
The mob-clearing opening part of Wailing Road is in no way comparable to the
pompous flair of Warlord's Hall or Hildebrandt's Palace, and it's a little
addictive.
There are a lot of kills here, a lot of jump/climb terrain, and for some
reason, it's split in two by a portal. But despite being one of the most
extended sections of Abyssalal Dungeon to clear mobs, it's essential, so at
least it's got it here.
Second Section: Enchanted Najjar
The first boss of the Wailing Road is unique as it is a Demon that was
enchanted with Kyzra's sword according to "lore". However, he's not very
durable, and there's no punishment for chasing him, so he's easy to shoot down
with his Spinning Laser Mechanic in less than a minute. Either way, Najjar is
a little annoying in combat, as he has enough knock-up attacks and movement
abilities.
Important Mechanic: Rotating Lasers
With 8 and 4 HP remaining, Najjar runs to the center and fires his Spinning
Lasers mechanic. While it doesn't count as a "Purge" mechanic, it can easily
wipe out a team that doesn't react to it appropriately and is overly focused
on combat and DPS. At this point, Najjar will either create a small red
telegraph circle around him or make a telegraph for the entire arena with a
single safe zone in a small process around him. If it's the first option, it's
the Outer option from this mechanic. If it's the second option, it's inside
the Inner selection.
Rotating lasers of the internal version
Description: Najjar turns the entire arena into a bloody mist,
with the only safe zone being a small circle around him. He then stretches
out his arms and begins to release streams of blood from them before slowing
down the rotation clockwise or counterclockwise. Najjar can sometimes stop
in the middle of a spin during this spin and then start spinning in the
opposite direction.
Strategy: Stay as close to Najjar's body as possible and follow
the far hand in rotation as he spins. Be careful with each click in case it
suddenly stops and changes direction. Also, make sure friendly particle
effects are disabled, as any lingering particles in this phase make it
harder to dodge the lasers.
Rotating lasers of the outer version
Description: Najjar turns a small circle around him into a blood
mist, preventing anyone from approaching him. Then, as in the Inner variant,
Najjar begins to spin, firing blood lasers from both outstretched arms. He
will then mark each player with a crosshair above his head, and shortly
after that, he will place a magnetic field on them.
Strategy: Immediately run to different corners of the arena
until a crosshair appears above everyone's heads. Please wait for the
magnetic fields to drop so they don't interfere in the corner, then quickly
run as close to Najar's Bloodmist as before, following its lasers. The
External Variant lasers are slightly faster and more complex to outrun, so
at worst, use Time Stop or a Protective Potion if it's about to hit.
Normal Attacks
Except for Spinning Lasers, Najjar's attacks are more annoying than dangerous,
but it's still nice to know them ahead of time:
Blood Mist - Najjar summons small clouds of blood mist at random
points in the arena. These bits of mist last a decent amount of time and deal
a small amount of damage to anyone inside.
Magnetic Fields - The boss creates five star-shaped magnetic
fields around him that, like the fields in his Rotating Lasers phase, stun and
knockback any players who come into contact with them.
Orbs of Blood - Najjar summons several flying orbs of blood nearby
that all target one random player, with a red telegraph that slowly fills up
before sending out a wave of blood that knocks anyone it hits.
Spinning Blade - The boss jumps into the air, sending a blade split
forward with his sword ahead of slamming it back down as two added blade
bursts fly forward within a straight line shortly soon after.
Spin Dash - Najjar selects a player and charges toward them, spinning
in a circle. On its way, it leaves several blood spheres in a straight line,
which, after a short delay, send out blood waves in opposite directions.
Shotgun Spread Blood Wave - The boss drops a sizable conical red
telegraph, which gradually fills up. After filled, Najjar sends out four
waves of Blood Power in the form of a shotgun that covers the complete
conical telegraph.
The Orb That Spawns More Orbs - Najar Summons a giant Blood Orb that
travels gradually in a random path and spawns smaller-sized Blood Orbs that
fly in random directions.
Third section: Defeating the demons in the forge
This is another phase of clearing mobs in the Abyssal Dungeon, like in the
first section. Luckily, it's a bit shorter than the first phase but still
quite tedious, as many enemies have a "wake up" period. It is an animation
that makes it impossible to destroy them all in one big move.
However, keep breaking those Demon statues... and move towards the gate that
leads the group to the Kyzra Encounter.
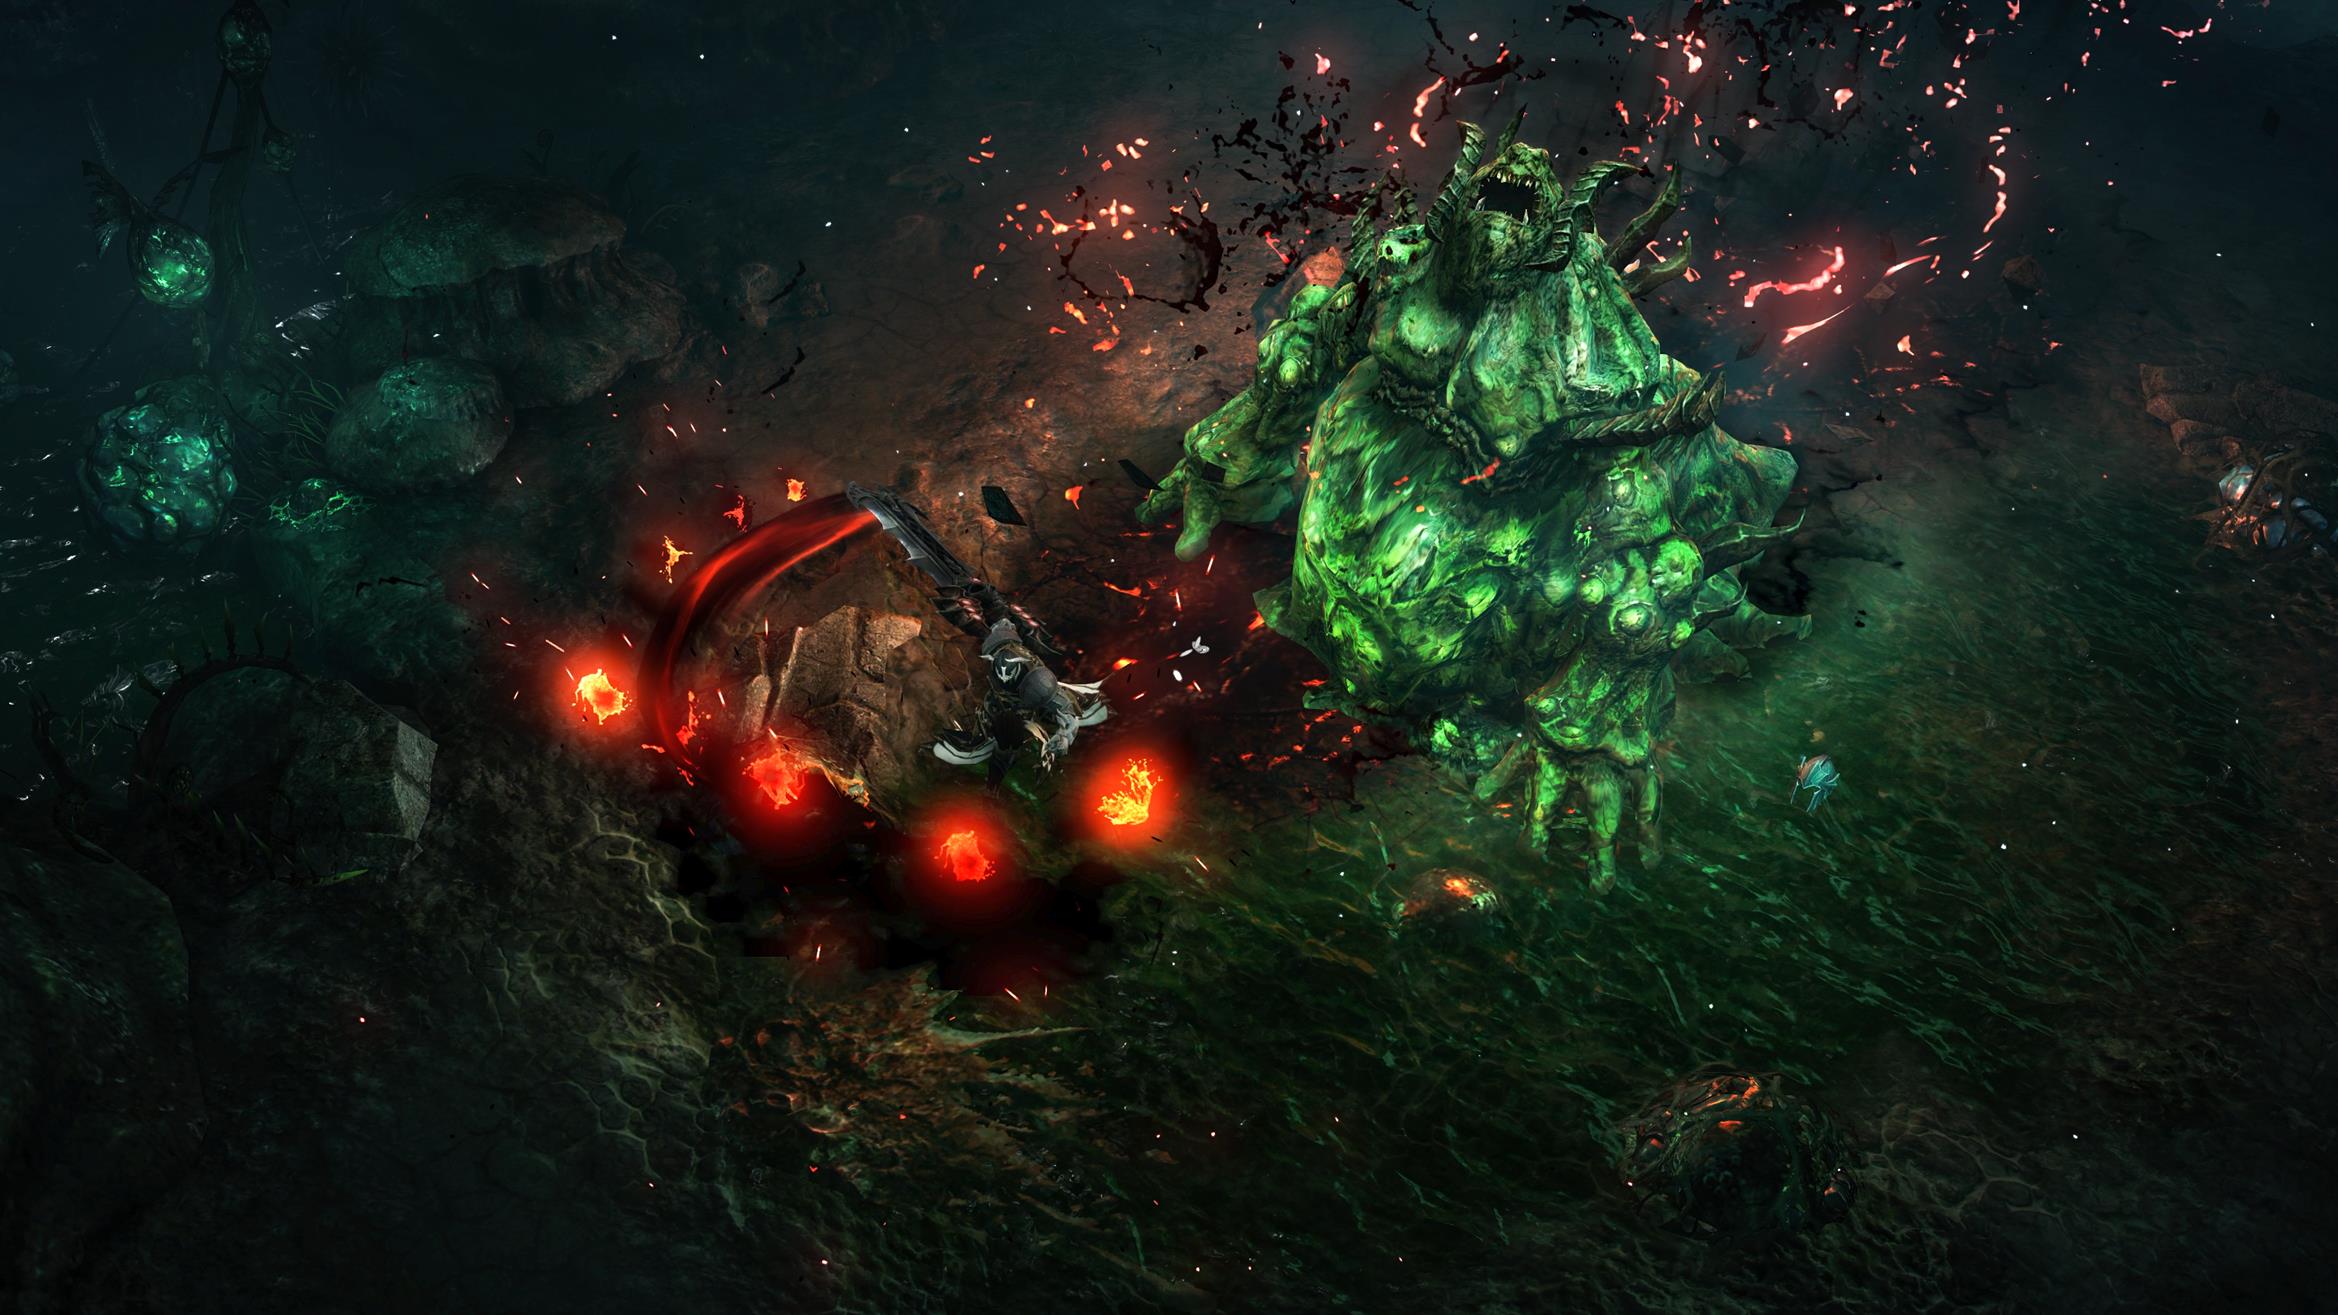
Fourth & Last Section: Kyzra
Next is the final encounter for Wailing Road Demon Lord Kyzra (better known as
Kaylara in other versions of the game). Kirzra, like Najjar, is a relatively
mobile boss with some annoying stuns and status effects. Kyzra also has the
Teleport and Self-Boost mechanics, which can make the fight more annoying, and
the Knock Down Check, but none of those areas are important to know as her
Wipe mechanic orb absorption. Bosses like these two make some players wary of
the upcoming Destroyer class, as it has to give itself entirely to every sweet
treat.
Essential Mechanic: Consuming Orbs
In general, players need to get used to collecting orbs, as this is the core
mechanic of all endgame content, including Argos. This is the core mechanic of
Kyzra, and the only one that returning players should remember before queuing
for the Ark of Arrogance. It doesn't seem to happen under specific HP
requirements, but it happens at least once during a fight, usually when she's
below half health.
When it starts, Kyzra jumps into the center of the arena and creates a red
shockwave around him that constantly deals an insane amount of damage to
anyone who gets too close. Kyzra then shoots hellish bullets of red and gold
orbs in all directions. To move on to the next part of this phase with the
hope of passing it, the group must try to collect three golden orbs while
avoiding the red orbs. After that, a golden round aura should appear around
them.
After about thirty seconds, Kizra begins to summon large red orbs throughout
the arena that slowly move towards her red shockwave. The purpose would be to
destroy all the powerful red orbs with the golden Aura before reaching Kyzra.
Holding large red orbs within this golden Aura deals heavy damage to them
every half second, usually destroying any orbs within two triggers of that
damage. If even two large red balls reach Kyzra, she will strike and sweep the
entire party with her sword. If players use this mechanic correctly, Kyzra
will stagger and fall to the ground.
The key here is communication, and this is what most bands usually do:
Before entering the Kyzra arena, players must assign each of the North,
East, South, or West. Most parties follow a randomly assigned Party Order,
also known as 1234 = NEW, or some slight variation.
- Once Orb Absorption begins, players are moved to their assigned area of the arena.
- Each player collects three golden orbs exclusively in their part of the arena and then works to clear their part—all the giant red spheres.
- Any player who fails to get the Aura in time will then spam a handful of pings, and the two players on either side will also attempt to cover their section.
- And it's so easy! But while it sounds simple, because the threshold for orbs that get to Kyzra is so low, it can be more complex than it sounds. So keep the following factors in mind:
- For each red orb touched, that player must collect another golden orb (for example, a player who touched one golden orb and then one red would need three more gold for the Aura).
- If players enter each other's Golden Aura, they will be knocked back and stagger, so don't cross paths.
- Gold orbs move slower than red ones, so it's easier to wait than rush when collecting Lost Ark gold.
Important Mechanic: Standard Stagger Check
Kizra also has a stagger check that appears from time to time. This isn't
always used and doesn't result in a team wipe, but if that fails, Kyzra sends
a shockwave across the arena that does a lot of damage and knocks up. Even
though her Stagger Bar is active, Kyzra will send out a lot of cone-shaped
shockwaves with her sword in random directions, but they are relatively easy
to avoid.
Important mechanic: Teleport Stab & Self buff
From the very beginning of the battle, Kyzra has a chance to teleport
immediately after any of his movements. When she does this, she summons many
round red telegraphs which, when filled, summon lightning. Indeed, one of
these circles is slightly larger than the other, and in it, Kizra herself
descends and stabs the player she lands on. If successful, Kyzra gains a
shield around him, that deals constant damage to anyone inside. And from that
moment on, she also gets a general damage buff.
Normal Attacks
Kyzra doesn't have many other attacks apart from the core mechanics. Judging
by how fast and agile this boss is, one would assume that he has a lot of
attacks, but this is not the case:
Sword Laster - Kyzra points
her blade at a random ally before a line comes out of them Immediately, she
fires a laser along the same path. It deals decent damage and knocks upon
hit.
Spin & Power Attack - The boss performs a quick spin attack
that knocks back all allies hit and then makes an immediate slash attack
with her sword that summons spikes in a circle right on the edge of her spin
attack. If the player gets hit and pushed with a spin attack, they are
placed in the perfect spot for that attack's spike. This is also an attack
where Kyzra can glow blue and can be dodged mid-jump for a hit.
Summon fireball - Kyzra swings her sword horizontally and summons
five fireballs where the arc of her sword was just before. These fireballs
then slowly travel towards Kyzra, dealing moderate damage and stunning on
impact. Be careful. If the player is too close to Kyzra during this attack,
multiple fireballs can pass through him simultaneously, dealing significant
damage.
Throw boomerang - The boss throws his blade forward, spinning it. The
sword then rotates in a semi-circle arc in front of her just before
returning like a boomerang. A basic attack that bargains moderate harm and
dazes.


Comments
Post a Comment